How to See All Picture Upload Links Associated With Discord Server
How to Create a Discord Server Imprint Background
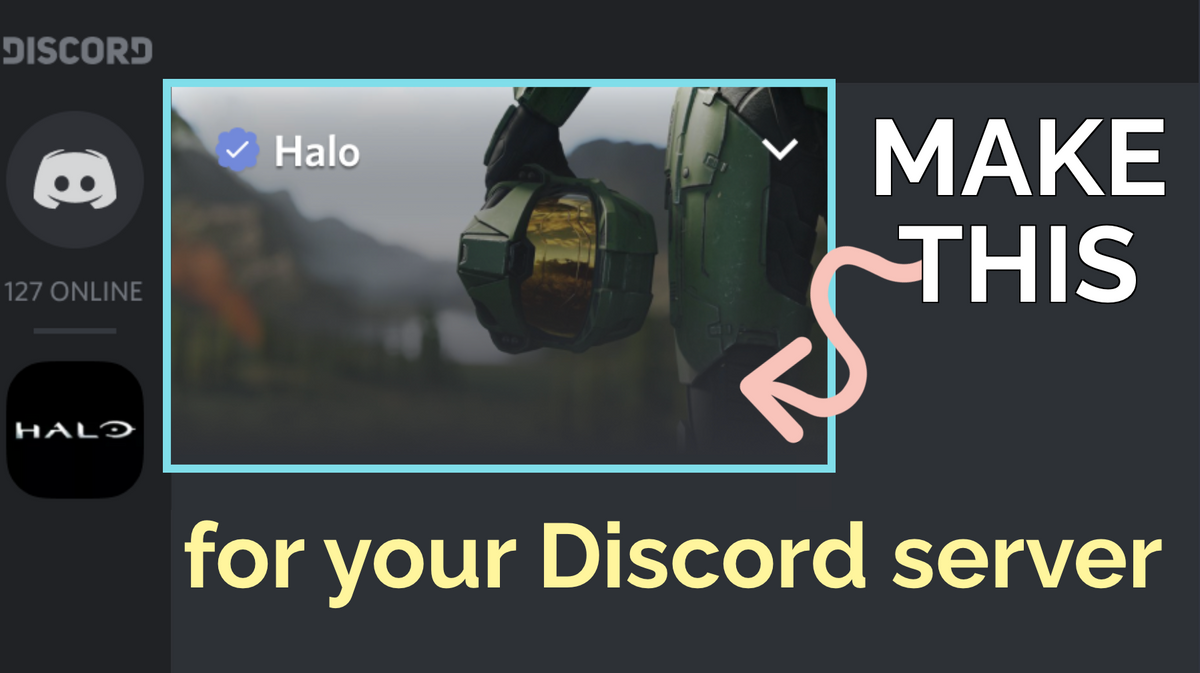
When your Discord server reaches level 2, yous can add a banner to create a singled-out server identity. In this article, I'll show yous how to make your own.
Discord'due south server boosts are a feature you don't encounter on any other platform – anyone in a server can pay to unlock certain perks for themselves. And when in that location are enough boosts, the server itself gets some nice perks, likewise.
One of the coolest perks is unlocked when a server reaches Level ii, which occurs at fifteen boosts. At this level, you tin add a Server Imprint Background image that everyone in the server tin can come across to create a distinctive server identity.
Since your server banner volition take up very valuable real estate in your Discord server, it'southward of import that you lot make yours look merely right – I'll go over the dimensions, formatting, and arrangement tips yous need to know, and prove you how to create the all-time server imprint possible, no affair what kind of image you lot want to use. Let's get started!
- Employ optimal dimensions
- Brand sure the important parts are visible
- How to upload your banner prototype
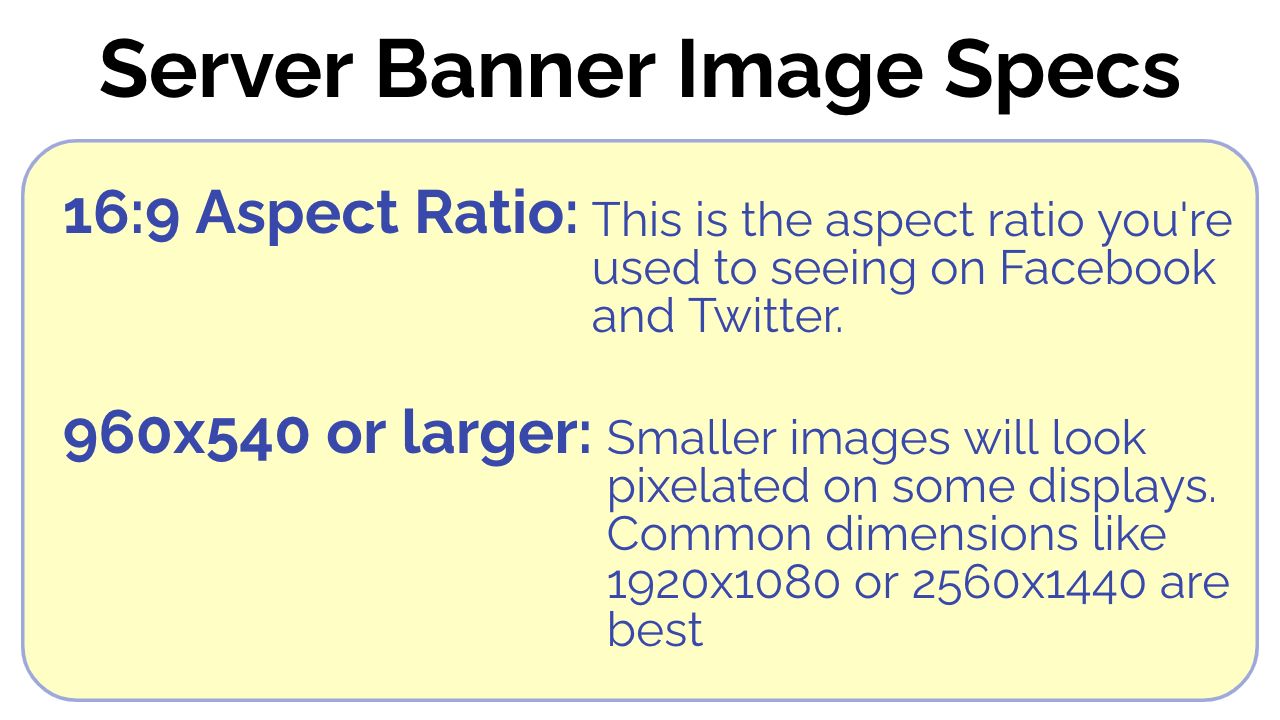
one. Use Optimal Dimensions
The attribute ratio needed to make your server banner is extremely common: 16.9. However, at that place are some boosted things to consider when cropping and resizing your banner paradigm to take the best dimensions. Discord recommends that your image have dimensions of at least 960x540, which is a flake larger than many of your xvi:ix images. For extra crisp quality, I recommend using a slightly larger 16:9 aspect ratio, like 1920x1080 or fifty-fifty 2560x1440.
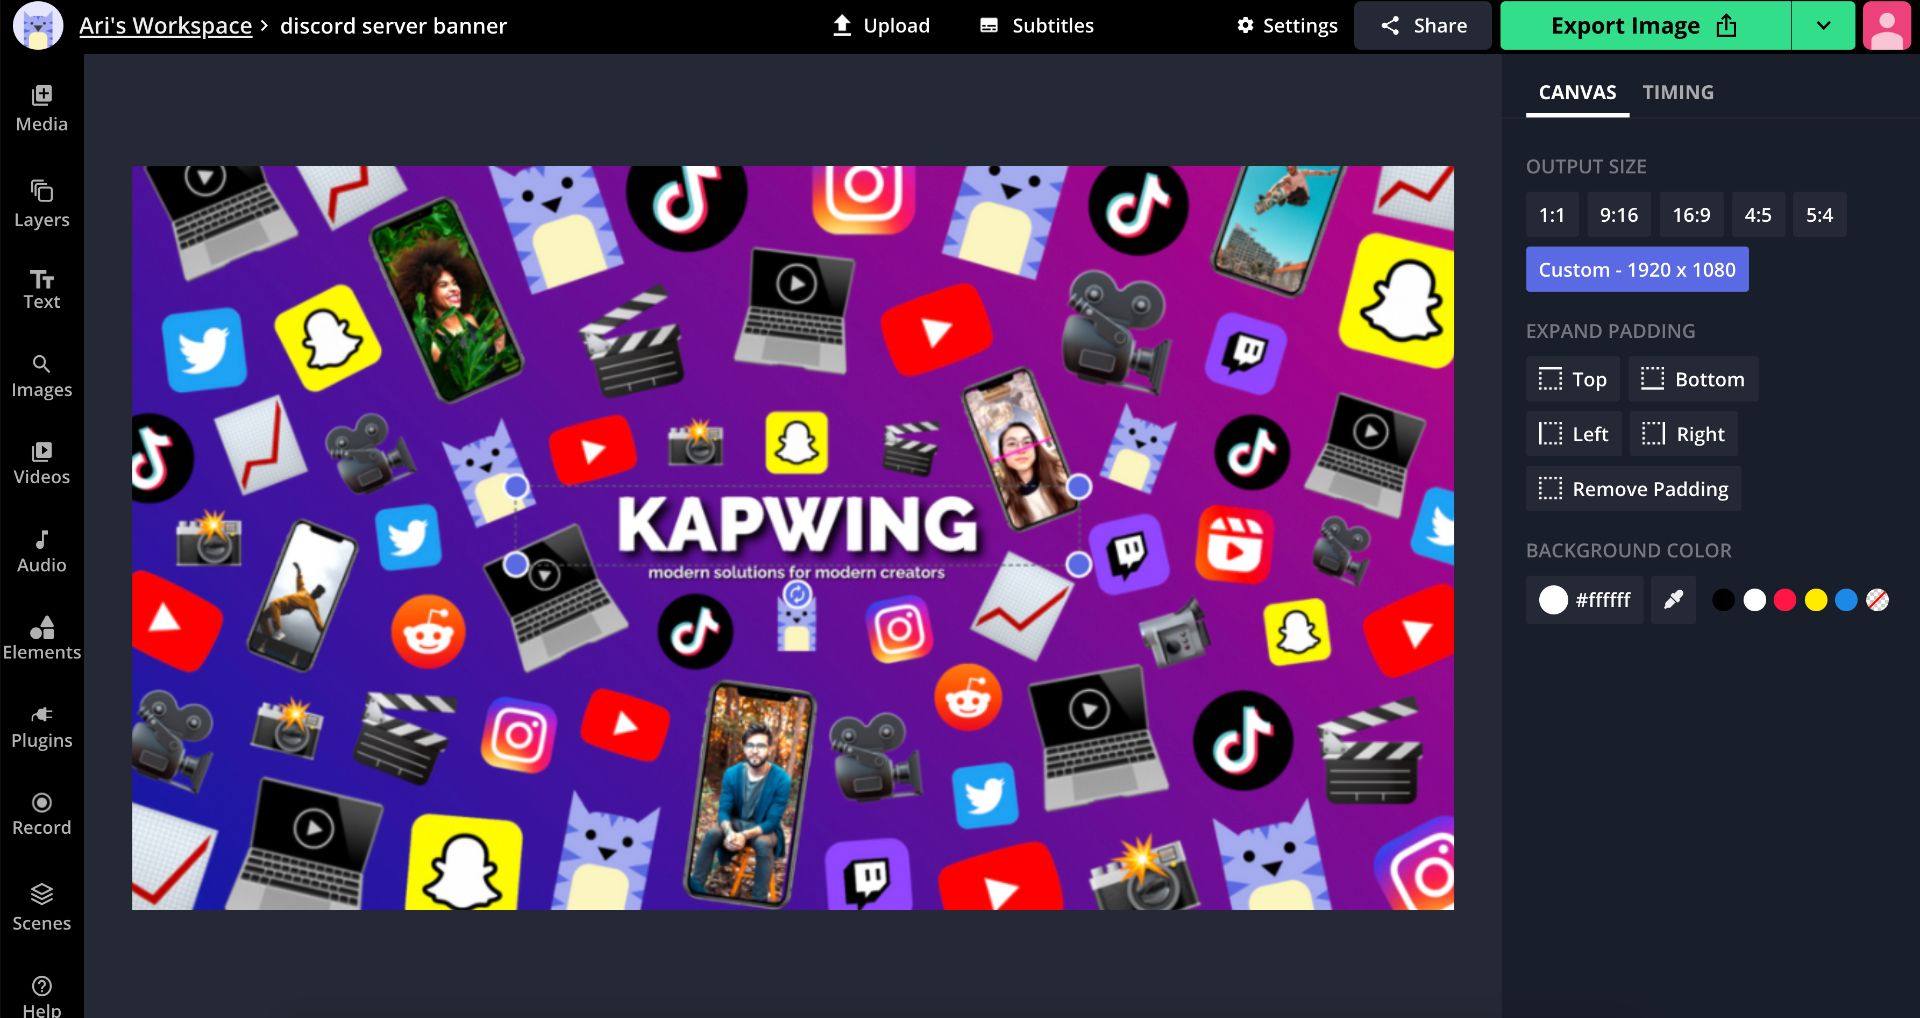
The Kapwing Studio is an easy identify to crop any photograph to a sixteen:9 aspect ratio and resize it to the correct dimensions. Become to Kapwing.com in your browser, click Start Editing, and either upload a photo on your device or paste the link to a photo you found online. You can also use the Images tool to search for anything yous call back would make a good imprint prototype, using phrases like "mountains wallpaper" or "geometric background." Now, apply the Crop tool to make your photo 16:9, and so use the Output Size options to make sure your aspect ratio is larger than 960x540.
2. Make Sure the Important Parts Are Visible
This is the nearly of import office of setting upwardly your Discord server imprint – making certain you know what will be visible when your banner is uploaded to your server. Discord'due south ain guidance on the "safe zone" of your banner paradigm is that you should keep important parts out of the pinnacle 28%, since that's where your server's name and options button will be displayed, but that'southward a bit of an exaggeration. The portion actually covered with text comprises just about the summit 22% of your imprint photo, and so on a 960x540 imprint yous should continue text and important parts of your image beneath the top 120 pixels or then.
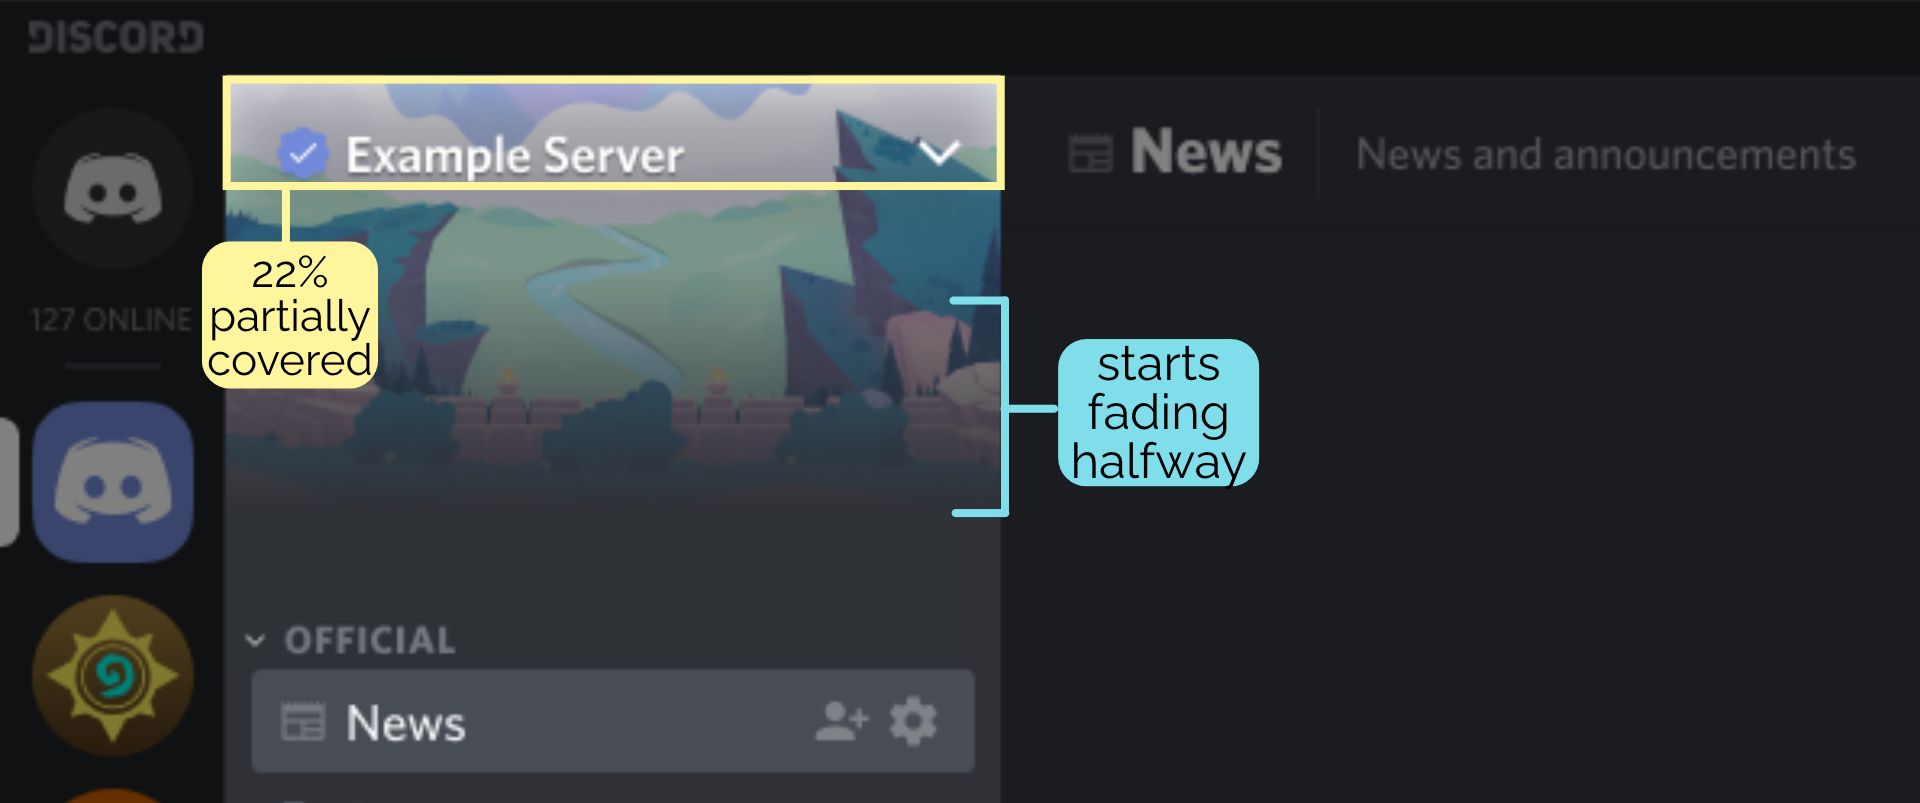
Another important thing to know well-nigh the mode your imprint volition be displayed is that it starts fading nigh halfway down until blending in with Discord'due south dark gray at its bottom border. This means that if you desire to include whatsoever pattern elements, text, titles, or of import visuals at the bottom of your Discord server banner, you lot should relocate them closer to the center of the frame so they're visible.
I recommend using Kapwing to adjust, ingather, and flip your imprint image so it looks good when displayed in Discord. In the Kapwing Studio, use the ingather push button to make sure the well-nigh important parts of your photograph will be visible, add together text boxes to customize your banner, and even flip your image horizontally to keep things away from the upper left corner. When you've arranged and cropped your image for Discord's restrictions and brandish, hit the green Export Image push button, then the Download button to salve your banner to your device.
Adding a banner image to your Discord server is pretty intuitive, once your server has been additional enough to reach level 2. Just open your server dropdown card and click on Server Settings, then select "Upload Groundwork."
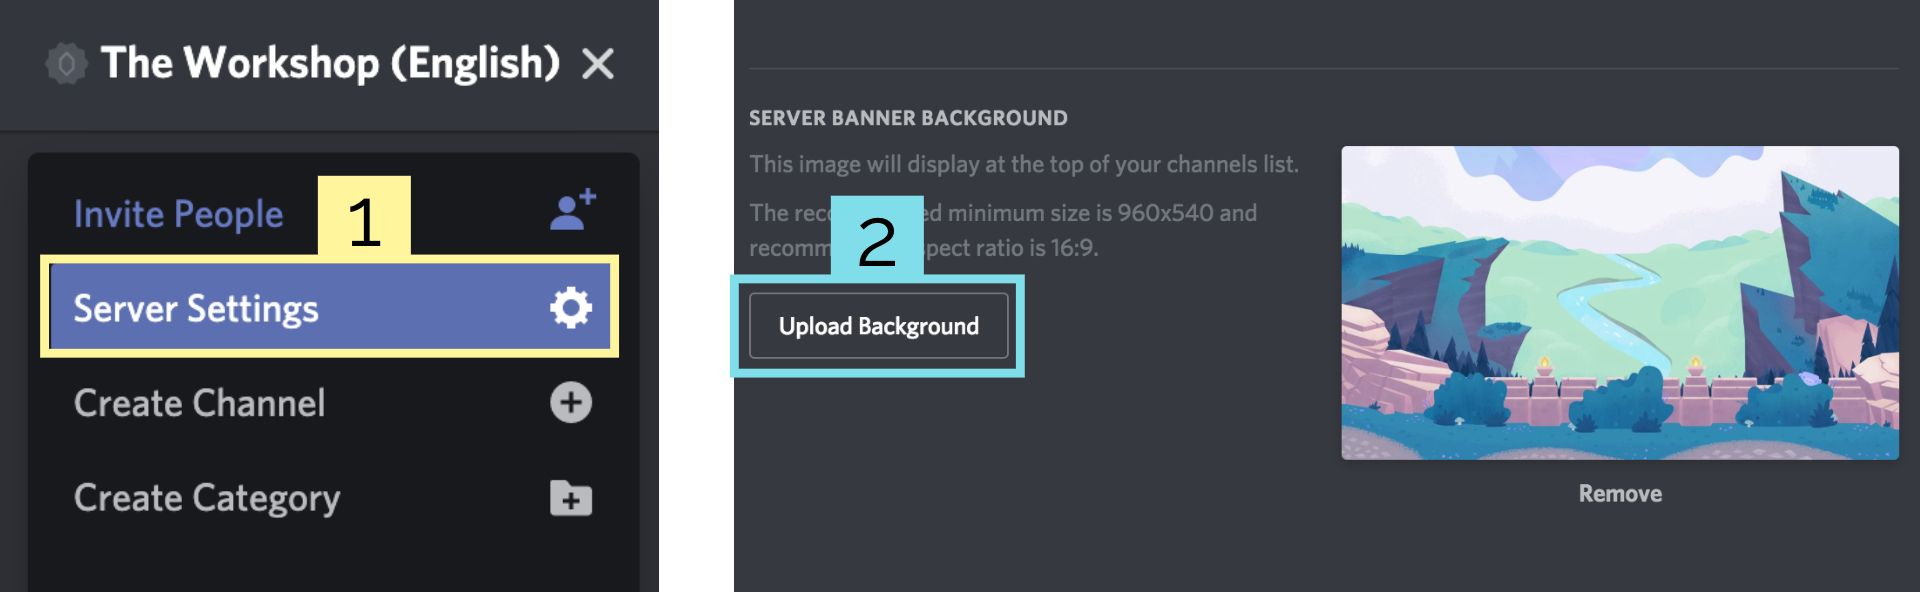
Here, notice the prototype in your files or camera scroll and upload it to your Discord server. It's that elementary!
I hope this article helps you bring your Discord server to the next level! If you're interested in more tips and tutorials on creating great content for social media, bank check out the Kapwing YouTube channel, where nosotros create multiple videos every week. In the meantime, look through some related articles on creating images for Discord:
• How to Brand a Discord Server Invite Background
• How to Make a Discord PFP Avatar
• How to Make Custom Discord Emotes
• How to Share Large Videos in Discord
shielsmomentown1959.blogspot.com
Source: https://www.kapwing.com/resources/how-to-create-a-discord-server-banner/
0 Response to "How to See All Picture Upload Links Associated With Discord Server"
Post a Comment